


Manage Developer Portal accounts for external users
When the Developer Portal site is configured to require logging in, external Service consumers can request an account. Environment admins approve or deny the account request from the Admin Manager Users page. If approved, the consumer receives an email. Internal and external visitors can update their display name and reset their password from the published site.
If an Environment admin deletes a Developer Portal user account, they can choose the new owner for each application owned by the deleted user. The new owner has the same permissions as the original owner for both applications and subscriptions.
Requesting a Developer Portal account
Users without a SnapLogic login to the environment can request access to the Developer Portal site as follows:
- Navigate to the Developer Portal URL.
- On the right side of the header, click Sign in. The login screen
opens:
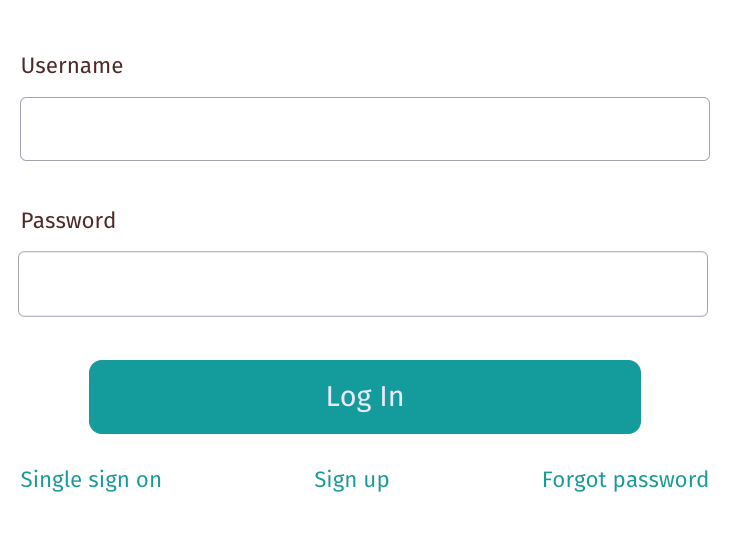
- Click Sign up. The Register screen opens:

- Fill in the required information and click Register Account. The
following message displays:
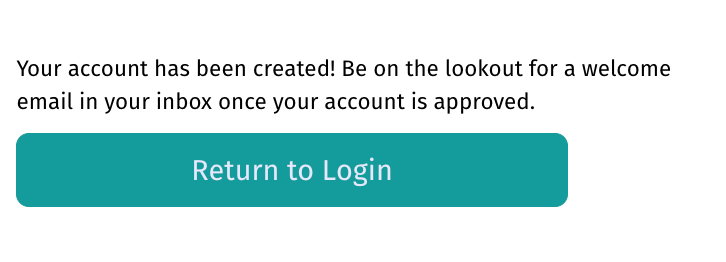
When an Environment admin approves the request, SnapLogic sends an email with a link to reset the password.
Approving an APIM 3.0 Developer Portal account request
Environment admins approve or deny account requests from Admin Manager:
- Open Admin Manager from the main menu. The Users screen displays.
- From the Access filter, select Portal only:
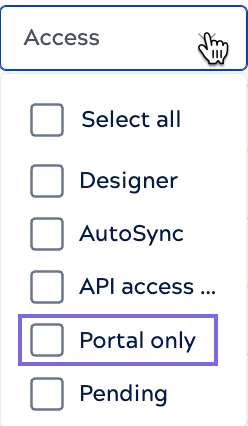
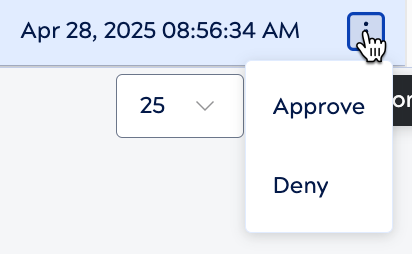
- All open and approved requests display. For example, the following shows one pending request:

- Open the three-dot menu and select Approve or
Deny. Or, select the box to the left of the user name and click the
Approve or Deny link that appears above the
table.
Update display name or reset password
Both internal and external consumers with a Developer Portal account can change their display name or reset their password:
- From a Developer Portal page that contains the header, click the email to open
the profile menu:
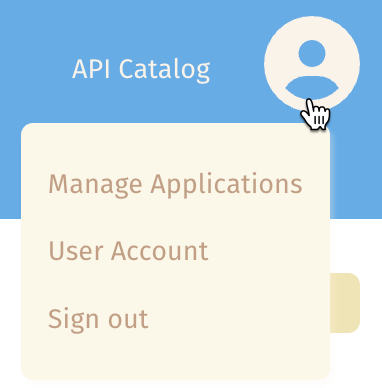
- Select User Account. The account settings page opens:
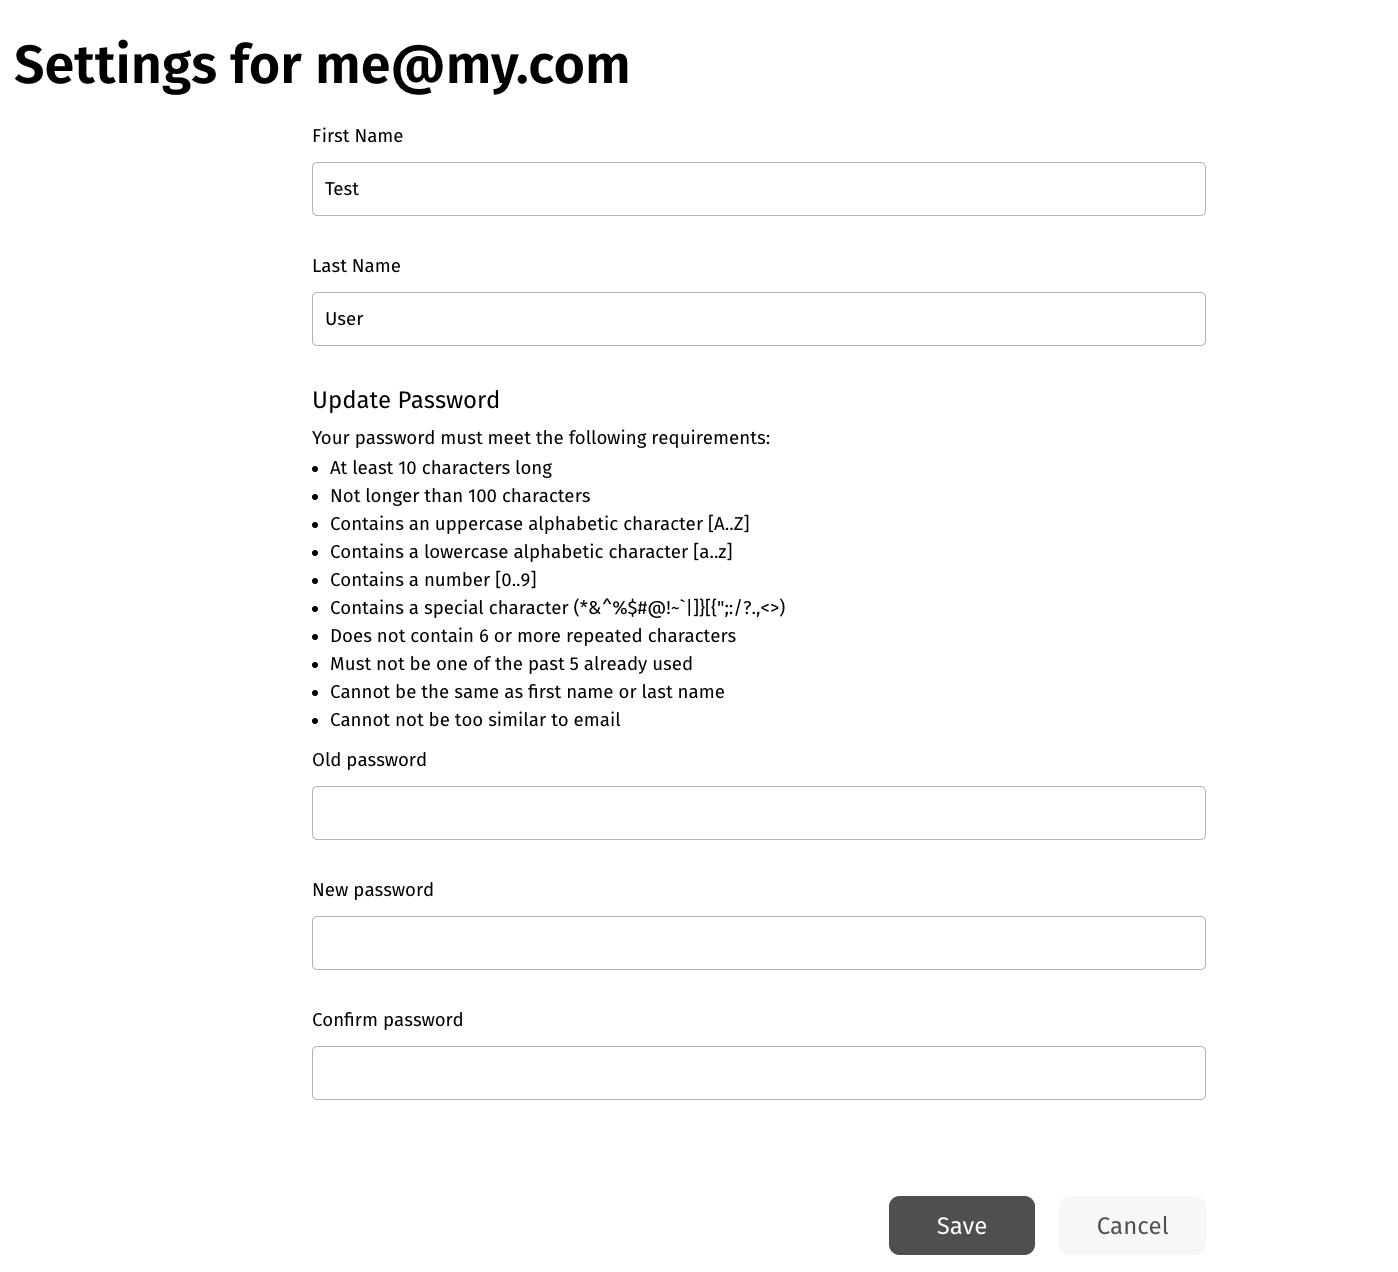
- Update the settings and click Save.