


Get Started with Agent Visualizer
Starting with the November 2025 release, you can launch the Agent Visualizer UI from the Agent Snap. The Agent Snap consolidates the capabilities of chat completions and tool calling Snaps and combines these with the agent execution loop feature in the Pipe Loop Snap. Each LLM Snap Pack has an Agent Snap, which accepts input containing an initial request contents, a list of tools, and parameters to invoke an agent execution loop.
Launching the visualization from Agent Snap
The Agent Snap is available for each LLM Snap Pack:
- Amazon Bedrock Converse Agent
- Azure OpenAI Chat Completions Agent
- Google Gemini API Agent
- OpenAI Chat Completions Agent
To locate the Snap, type in the first few letters of the Snap name or LLM SP into the Snap Catalog field. When the Snap appears in the listed Snaps, drag it to the Designer canvas.
Generate visualization and log via the Agent Snap
Prerequisites: Your pipelines need to validate successfully to display the Diagram and Log.
- Connect the Agent Snap at the end of your Agent pipeline.
- Validate the pipeline.
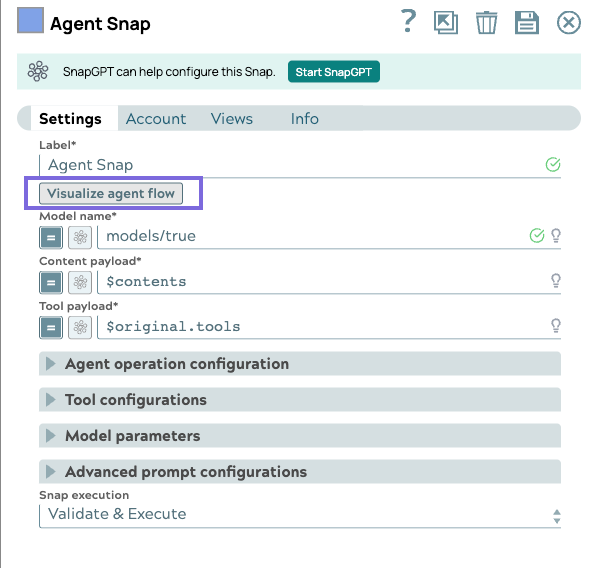
- Point and click the Agent Snap to open the Settings dialog.
- Click the Visualize Agent Flow button.
Result: The Visualization displays the diagram and log.
Agent Visualizer Snap
The Agent Visualizer Snap is available via the AgentCreator Experimental Snap Pack.
Launching the visualization from the Agent Visualizer Snap
To locate the Snap, type in the first few letters of the Snap name into the Snap Catalog field. When the Snap appears in the listed Snaps, drag it to the Designer canvas.
Generate the Visualization via the Agent Visualizer Snap
Prerequisites: Your pipelines need to validate successfully to display the Diagram and Log.
- Connect the Agent Visualizer Snap after the Pipe Loop Snap in your Agent pipeline.
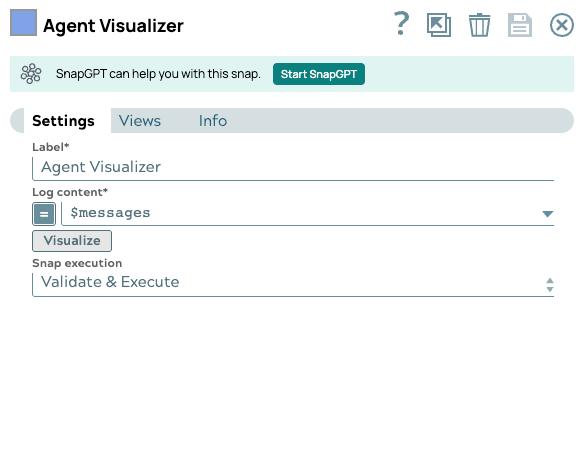
- Point and click the Agent Visualizer Snap to open the Settings dialog.
- In the Log Content field, enter the string $messages.
- Click Save, then close the Snap and validate the pipeline.
- When pipeline validation is complete, reopen the Settings dialog, and click the Visualize button.
The Agent Visualizer Snap has two output views. The first output view passes through the data from the Agent, and the second output contains the data to render the visualization. You do not need to add any Snaps to either view.
For information about the controls in the Data Preview window, refer to Agent Visualizer Diagram and Log Layout.
For troubleshooting your agent pipelines using the Agent Visualizer, refer to Troubleshooting visualization errors.