


Build Agent Pipelines in AgentCreator
These steps summarize the process for creating an Agent pipeline in Designer. The pipeline follows the agent architecture: Prompt Generator Snaps handle prompt construction and context, Function Generator Snaps define the available tools, and the Agent Snap drives the LLM reasoning and tool-calling loop.
Tip:
The following tips are for building pipelines in Designer:
- For easy debugging, we recommend that when you start, you already have a few tool pipelines created.
- If you plan to have multiple unconnected pipelines in one canvas, use the Disable Snap setting to turn off pipeline segments from validating and executing.
- Use a JSON Generator Snap in your tool pipelines to mock data input for testing purposes. It can be disconnected and disabled later.
Activities outside of SnapLogic would be:
- Creating an interface for your end users to interact with the agent.
- Using a 3rd-party monitoring tool to assess the quality of responses and LLM costs.
- Plan your agent pipeline design.
- Objective - Define a specific goal for your agent is crucial as a first step.
- Preparation - Collect data and prepare a real-world context for the types of end-user questions the agent is designed to answer.
- Tools - Enumerate the tools required for the agent to respond best to the prompt and determine the layers of pipelines that inform the hierarchy of agents. Refer to Create tool pipelines.
- Data sources - Identify data sources for the agent. This applies to RAG pipelines especially.
-
Make sure your LLM Snap accounts are configured. Refer to the following for LLM configuration details:
- Set up your Snaplex to validate and run your pipelines.
-
Click
 to open Pipeline Properties dialog:
Note: Adding an Agent Snap to the pipeline automatically tags it as an Agent. No manual tagging is required.
to open Pipeline Properties dialog:
Note: Adding an Agent Snap to the pipeline automatically tags it as an Agent. No manual tagging is required.- Enter the name of the Agent.
- Add additional pipeline parameters if needed.
-
Verify that your Agent pipeline runs successfully.
-
Click
 to validate the pipeline.
-
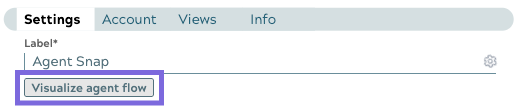
When validation is completed, open the Agent Snap, and click
Visualize agent flow.
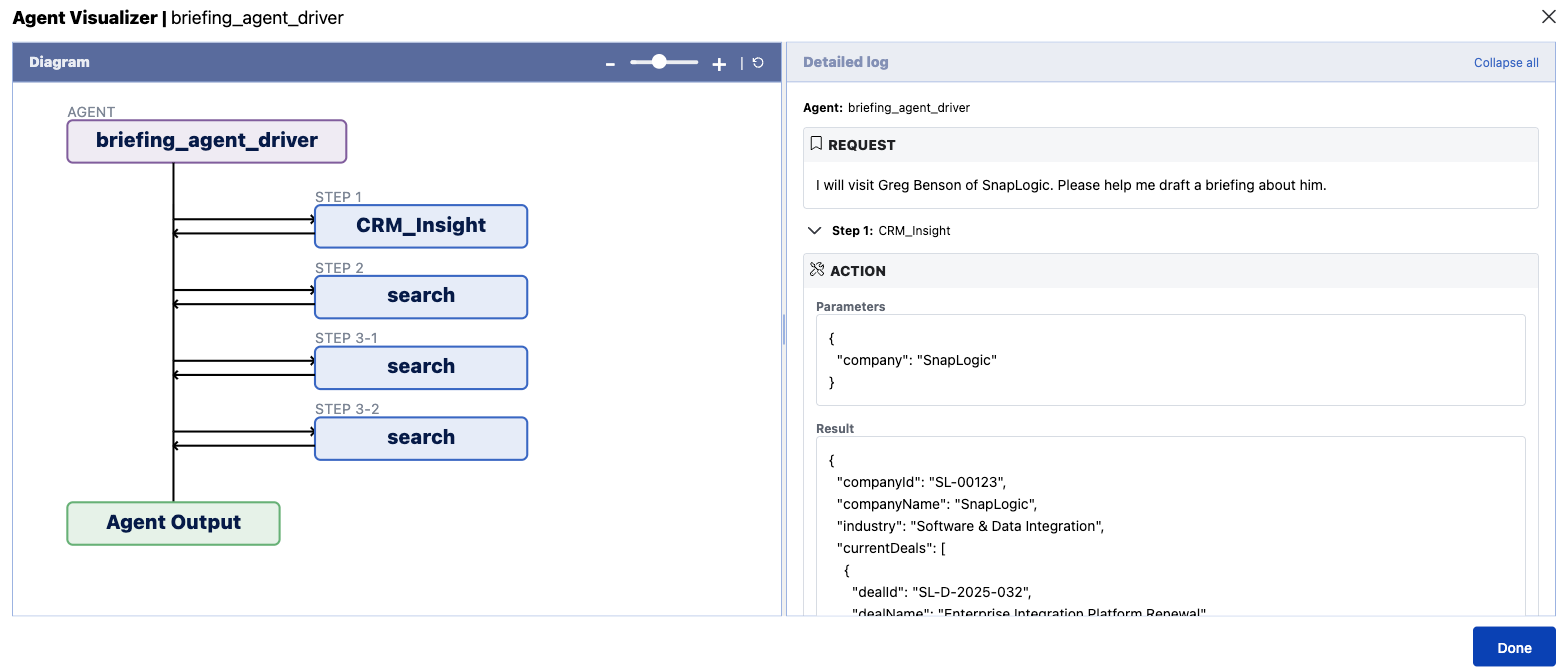
The AgentVisualizer page opens with a graph and log of the input and the Agent response.
-
Click
The following table provides Agent Snap patterns based on LLM vendor.
|
LLM Vendor |
Pattern |
| Amazon Bedrock | AgentCreator Agent - Amazon Bedrock - Personal assistant agent |
| Azure OpenAI | AgentCreator Agent - Azure OpenAI - Personal assistant agent |
| Google Gemini | AgentCreator Agent - Google Gemini - Personal assistant agent |
| OpenAI | AgentCreator Agent - OpenAI - Personal assistant agent |